When you click on links to various merchants on this site and make a purchase, this can result in this site earning a commission. Affiliate programs and affiliations include, but are not limited to, the eBay Partner Network.
The long wait was over, with my custom-built rear shocks finally ARRIVING:
I could finally start tearing down the rear suspension, again... but wait, just as I was about to install them, I noticed something different:
The bushings in the top shock eyelet were much wider than the OEM shock. This was aggravatingly confirmed when I attemped to mount them, which would not fit without removing the bushings:
I immediately contacted the local off-road shop that I purchased these through and they offered a set of stainless steel "Mialignment Spacers" (yep, that's what they're called) that fit the bore of the shock eyelet spherical bearings:
Upon receiving them, however, the OEM 12mm shock bolt was too loose as they were meant for SAE 1/2" bolts:
In addition, they were still too wide to fit into the mount by about 6mm:
With frustration and patience wearing thin, I decided to push ahead to make these work by grinding down the faces of the bushings by about 2.5mm each. So although they finally popped in, they rattled like a ***** due to the loose bolt within the bushings. It was something I could deal with until the proper bushings arrived from King Racing...
You need a minimum of one 12-inch C-clamp and one 6-inch (clamp down the 12-inch until the 6-inch can fit), or a pair of 12-inch C-clamps, along with 3/8" non-locking extensions (without a release button as they won't fit the bolt holes) to help guide the leafs together during clamping:
I had to man-handle the leafs and wiggle the extensions back and forth now and then while cranking down on the clamps to align the holes perfectly before sliding in the bolts
Since Add-a-Leafs reportedly add 1-1/2 to 2 inches of lift just by themselves, I removed the ProRyde 3-1/4" blocks and reinstalled the OEM block. During removal, the corners of two of the stacking plates broke off; one while simply whacking the axle itself free from the blocks. Closer inspection revealed rust in the breaks, with one showing rust through the entire break:
These had only 1,100 miles and 1.5 months on them so this rust started somewhere during manufacturing. Although ProRyde honored their lifetime warranty by sending out a pair of new replacements, I can not recommend them at all since the quality has been demonstrated to be extremely poor which would waste time and money (for those who paid for installation) to have them changed out in such a short span.
While I was assembling the leaf springs, I noticed the axle had hit the bump stops at least a few times before I installed the ProRydes which had bump-stop wings:
Now that I had reinstalled the OEM blocks I was concerned about bottoming out the custom-built King shocks, so I checked the amount of compression distance of the shocks versus the distance from the axle to the bump stop: shocks had 8-3/4" before full compression while the axle distance-to-bump stop was only 8":
From the description I gave for how I would set up my suspension with a +2" lift, I thought King would build the shocks with standard length shock bodies with 2-inch longer rods, but they instead built them with 2-inch longer bodies and rods. Even though the shocks are at approximately a 30-degree angle and would compress at a different linear distance rate than the axle, I wasn't comfortable running the shocks with the current bump stops, so I discontinued with the King Shock install and resinstalled the stock rear shocks while I researched a solution.
In the meantime, it gave me a chance to test out the impact to rear suspension performance of the Add-a-Leafs by themselves. From all the concerns posted by people contemplating a set of a harsh, "truck-like" ride Add-a-Leafs may bring, my experience has been completely the opposite: these have reduced the characteristic bounciness typical of unladen pickup beds considerably. Driving freeways with annoying wavy stretches, excerbated for pickup trucks, has been tamed to mostly tolerable. The back of the truck now rides really plush and smooth and soaks up potholes and speed bumps while eliminating the after-bump oscillating that continues long after the bump has passed. All these improvements with no drawbacks that I can glean so far, just with the install of Add-a-Leafs with stock shocks. And with its ability to prevent sag under heavy loads, I wholeheartedly recommend these relatively low-cost Add-a-Leafs to anyone remotely considering a rear suspension upgrade.
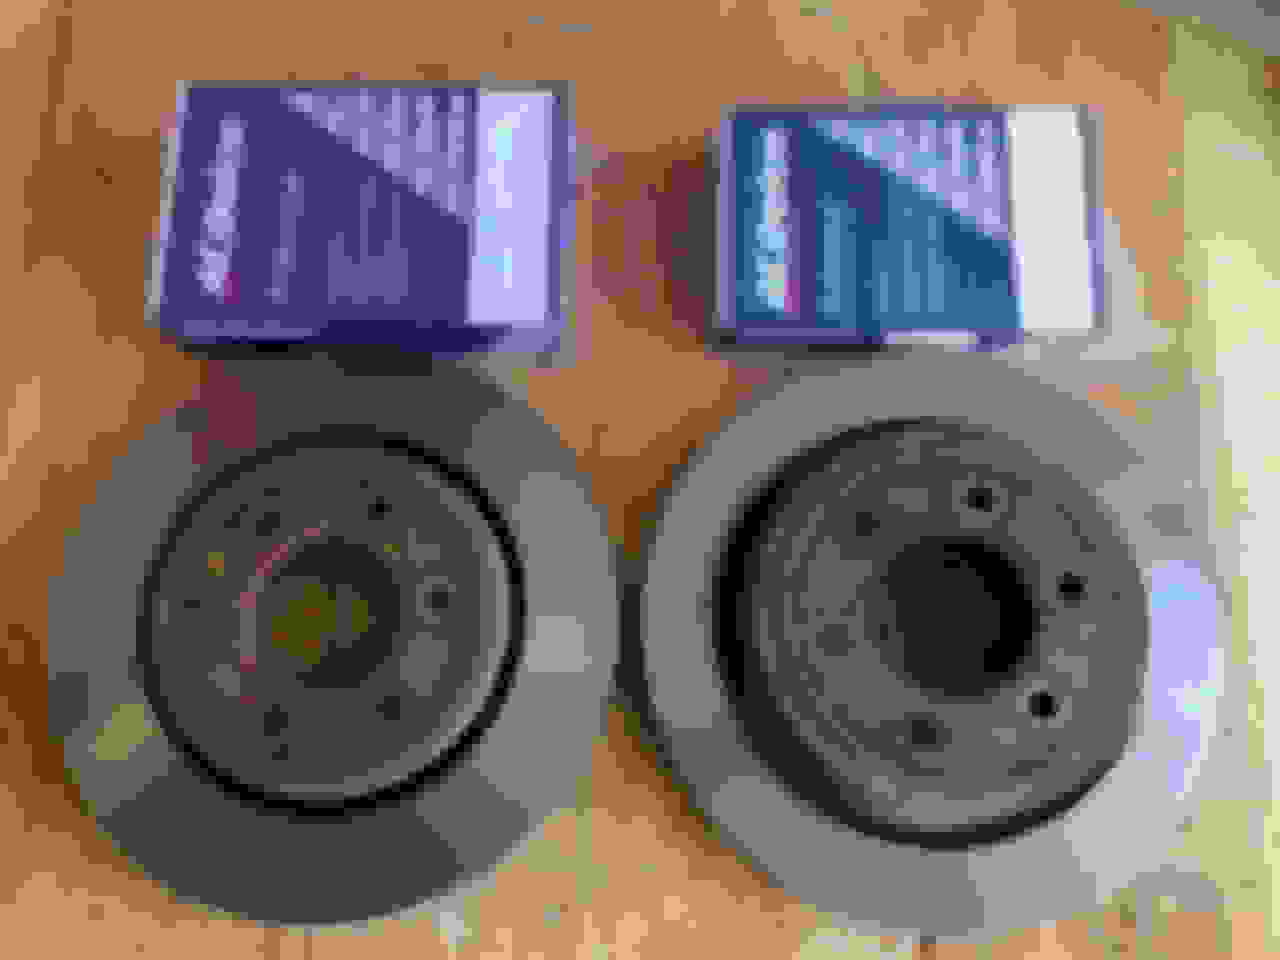
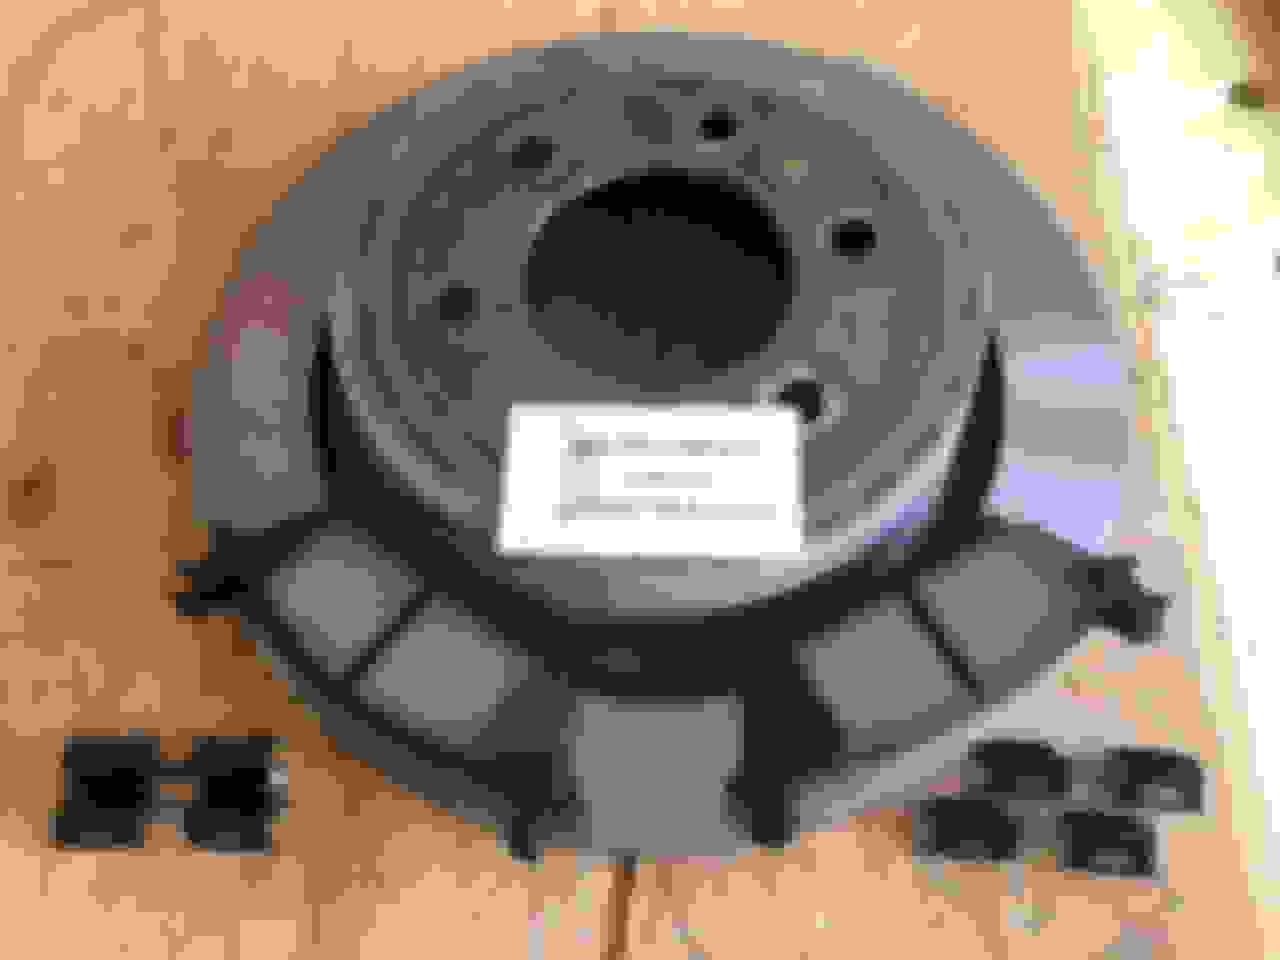
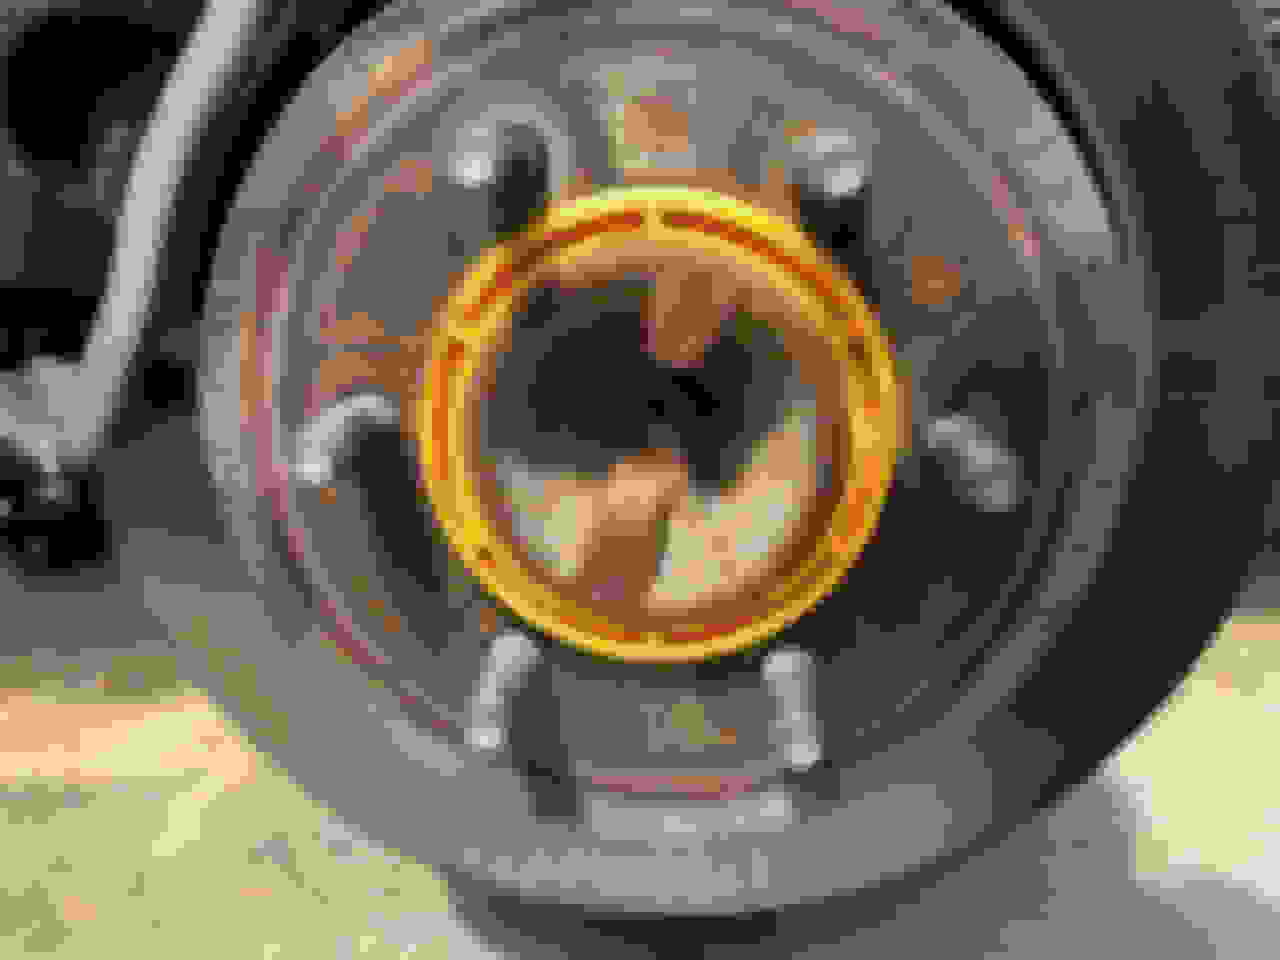
The third and final act of my suspension re-tear down mega-session was replacing the brakes. In another thread I posted, I had complained about my brakes burning up and experiencing brake fade during one long, downhill trail which led me to contemplate expensive larger aftermarket brakes. I have not experienced burning brakes or brake fade ever since, but I felt I couldn't rely on my existing brakes on another severe offroad descent since many of our trails involve high elevation changes, especially with larger and heavier wheels and as the truck starts packing the pounds in future upgrades and recovery equipment. In addition, ever since I started off-roading regularly, my rear brakes squeak incessantly in reverse and occasionally while braking at low speeds going forward; I've been asked if my brakes are worn several times now. As I'm not the original owner and had not replaced the brakes because they had plenty of meat left since purchasing it a year ago, I decided to at least try a highly rated pad amongst the towing crowd to see if that improves my braking experience: Ceramic ACDelco Professionals. The rotors were in excellent condition so I simply had them resurfaced:
Pulling and inspecting the existing pads revealed organic Motorcraft BR1414 front pads and ceramic Motocraft BR1602 rear pads.
Spoiler
The organics certainly explained the terrible hard braking, high heat burning and fade I experienced, though I'm surprised with how noisy the ceramics had become since off-roading.
While I had the new wheels off, I decided to weigh them against the original wheels to answer a burning question of mine: what was my weight penalty hit?
The Light Truck Tire F-rated 35x12.5 Ridge Grapplers on Fuel Maverick 20x9's came out to 112 pounds, a whopping 30 pounds heavier per wheel over the 82 pounds of the Passenger Tire Extra Load-rated 275/55R20 Terra Grappler G2s on Ford Platinum 20x8.5's. That's a net gain of 120 pounds of unsprung weight.
Speaking of wheels, after getting the truck back on the road, I noticed I no longer had the occassional wobbling and vibration I mentioned in a previous post after Discount Tire replaced the TPMS sensors. What I suspect happened is that the techs using an air impact wrench to quickly get the lug nuts on before torqueing inadvertently mounted the wheels slightly off center. In the quest for lowering costs, rim manufacturers are resorting to incorporating multiple bolt patterns into a single rim and relying on plastic hubcentric rings to adapt them to specific auto manufacturer standards.
The Fuel Maverick 6x135mm hubcentric rings feel a little to loose for my tastes, so I believe when an air impact gun is carelessly used and that first lug nut is tightened too quickly, it'll deform the plastic hubcentric rings ever so slightly, resulting in a minutely imbalanced wheel-hub assembly:
When I first got my new tires mounted and balanced, I didn't have them install the wheels because I had to trim the fender liners first. When I mount my wheels with hubcentric rings, I use an electric impact wrench set to the lightest setting and just feather the trigger to gingerly tighten each lug nut down until the wheel just snugs up against the hub, then work the star-pattern. This allows the wheel to gently guide itself along the hubcentric rings without introducing any unwanted deformation. With this technique, I've not experienced any of the wheel balance issues that seems to occur when I have my local Discount Tire mount the wheels.
Anyway, this is my dig against hubcentric rings and to avoid them if possible, which of course, may not be avoidable if a design you desparately want uses hubcentric rims.
With that said, the ACDelco Professional ceramics have proven extraordinary, providing vastly improved grip, quicker engagement, and shorter stopping distances. It may squeak now and then, but usually only on the first startup of the morning, and then all quiet for the rest of the day. Two moderate trails under their belt and still no ill-effects in regards to chronic squealing like I had experienced with the Motocraft ceramic rear pads. I can't wait to really put them to the test on a long, winding, descending trail like the one that led me to these brake pads in the first place...
ACDelco Professional Ceramics vs Power Stop Z36 Extreme
I forgot to add this to my last post: After running these ACDelco Professional ceramics for awhile now, I have good hands-on experience to compare them to the Power Stop Z36 Extreme brake pads that I had installed on my long departed 2011 F150 2WD 6.2L a year ago, and the difference is dramatic. On the lighter 2WD, I was completely underwhelmed by their performance that so many had touted before (and many others were strongly against). They didn't improve any aspect of my braking experience in any which way.
But these ACDelcos on my heavier 4WD, on the other hand, I am still impressively amazed after two weeks. They are so much more "grippier" and stop so much more quicker than those forgettable Z36's. They do seem to be a little more dustier, but I'll take any day since they are a massive performance improvement over any pads I've previoiusly tried on over 20 years of owning various model years of F150's.
Both of my 12th gen F150's had their OEM rotors turned by the same shop before installing their new pads, both have 6.2L's, and both are SuperCrew Platinums. Yet the Z36 on the lighter 2WD standard bed just could not perform anywhere near the level of expectations generated by so much hype from their followers on various F150 forums. Yet the ACDelco's are rarely mentioned at all. So if I hadn't stumbled across this thread, Recommended Front Rotors and Pads for Towing, I would never have known about them.
On top of all this, a set of Z36's for all four corners was $45 more expensive than the ACDelco's. All due to hype, probably.
During my research for a suitable bump stop fix for lifted rears, I came across this thread, Rear Lift Blocks WithOUT Bump-stop Extensions, and this seemed like the perfect solution. My fav local off-road shop had them in stock, so with the arrival of the correct shock mount bushings, I could finally put together my rear suspension completely:
As I started working on the suspension a third time, I noticed something odd about the bottom leaf on the passenger side:
Looks like I put that leaf upside down... Eh, we all make mistakes, right?
I had to completely diassemble the passenger leaf springs, which also required unbolting the driver's side axle U-bolts to give me enough axle play to break it apart and reassemble.
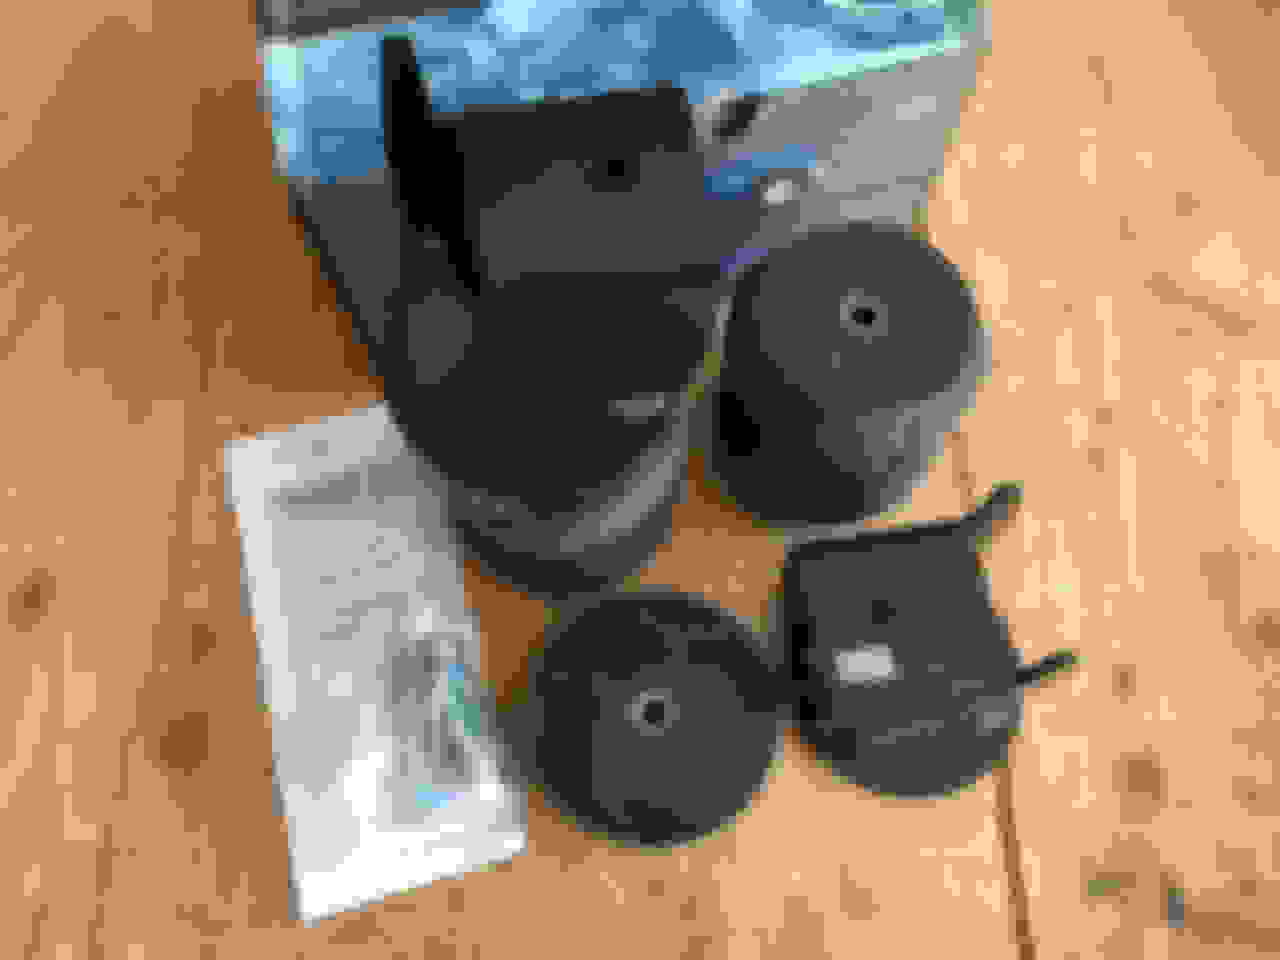
After getting the leafs in the proper orientation, I initially set up the SES stops without the optional 1" puck:
But after settling the rear suspension, I was horrified to discover the shocks only had 4" of piston rod compression travel before bottoming out. This is where the intent expressed to my local shop was miscommunicated to King Shocks and resulted in them using a 2 inch longer shock body which left me with very little leeway in rear suspension height. I really needed the SES stops to kick in quicker so I installed the additional 1" puck. The SES stops now sit 2 inches above the axle on even ground:
The addition of the rear King Shocks resulted in an addtional 1 inch lift, putting the net total at +3-3/4"; a half-inch taller than stock shocks, stock leafs, and 2-1/4" rear blocks.
After three trails, this setup has worked perfectly, with no bottoming out, even under full flex:
The truck no longer sits level, and due to the fact that I don't have much compression left in the rear shocks, I can't remove the OEM 1-1/4" blocks to bring it back to level without sacrificing wheel travel. But it's not that far off level:
The suspension rides really nice, both on and off road. I did notice that the back end can start to get a little bouncy when fully loaded with gear; not as bad as with stock leafs, but I may consider a set of Deavers in the future. At $1500 a set, that would be a looong time in the future, long after my other planned upgrades are done, so I'll just adjust the rear shocks firmer for now. So for the time being, I'm done with suspension upgrades.
How do you like the king shocks? My brother has king coilovers coming for his F150 sometime this week.
I personally love them and they've smoothed out the rutted trails significantly while also being extremely civilized on the streets (with middle setting on the adjustable valving), but I don't have any direct experience with other suspension systems for the F150 other than OEM (and Fabtech on 2001 SC). The other vics I trail with are GX460's and they both have Icon 2.5 VS, which I've ridden in both. Although apples to orange type of comparison, I think my Kings of my F150 handles better in all situations than the Icons of the GX460's. One of them also has a Titan with aftermarket mid-travel kit and King Coilovers; he's the one who recommended Kings over Icons if I could afford it, and he does prefer his Kings over his Icons.
Short of going mid/long-travel suspension, I think these are the best you can get from a stock geometry 12th gen F150.
In the end, I think most people would be satisfied with Fox and Icons; it's only the true enthusiast who would notice the differences between these three suspensions...
Cool build. I actually just bought a Lexus GX460 about 6 months ago with the intent to build it up into an offroad rig(not necessarily overland). But once I got it, I couldn't bring myself to start hacking it up. So instead I went out and bought a 1995 4Runner that was solid axle swapped with 5.29 gears, ARB locker and some other goodies for less than some skids, sliders and lift would have been for the GX
Anyways, my F150 is also a Screw with a 6.5' bed and I know your pain. I've dropped my running boards on a lot of rocks and stumps so they are pretty bent and mangled at this point. That is really why I haven't thrown more than some A/T tires and a set of Bilstein 5100's at it, because it's just a big truck with a big wheelbase.
Im debating on doing king shocks on my F250 but I want to ride in some vehicles with kings so I get a feel for the ride. I have new pro-comp mx6 shocks with reservoirs and to be honest, the ride is pretty good.
Im debating on doing king shocks on my F250 but I want to ride in some vehicles with kings so I get a feel for the ride. I have new pro-comp mx6 shocks with reservoirs and to be honest, the ride is pretty good.
Honestly, if you already like the ride on your Pro Comps, I wouldn't upgrade as the difference for your driving styling may not be significant enough for the cost of entry. In addition, you would need to get custom-built King Shocks for your 8" lift, adding to the cost. So unless you haul *fast offroad, I just don't see any benefit upgrading over your professed "pretty good" Pro Comps. Now, if you were starting from scratch OEM setup, like I did, I would seriously contemplate the Kings immediately, or if you've got wads of cash burning a hole in your pocket to be spent...
 08-27-2020, 10:24 PM