When you click on links to various merchants on this site and make a purchase, this can result in this site earning a commission. Affiliate programs and affiliations include, but are not limited to, the eBay Partner Network.
First things first, I'm newish to Ford. Never been a truck guy...ever. In highschool and college I liked fast and furious type tuners. Those don't really work in your 30's with kids. My work car was a 2015 fiesta. Tiny little roller skate car but i actually liked sync and some of the stuff Ford was doing in late model cars. I left that company to start my business and needed a truck. Enter 2016 XLT super crew in magnetic. I had no idea what i was buying. I didn't know the trims, engines, axle gear ratios...nothing. Loved my new truck, I've owned it a year now.
Found this forum 6 months ago trying to figure how I can use the harness attached to my coin holder.
I took the blue pill and down the rabbit hole I went. At this point and still today, I'm a complete newbie but spend hours here reading and learning and figuring out how to source parts...this is addictive! I learned I purchase a 300a XLT...its almost an XL . But I figured its a blank slate and I'm not trading it in now that I know what I want, so i'd just build it. And so it began a few months back, base XLT to Lariat(ish)conversion. I plan on taking this past Lariat trim in terms of options...really an expression of myself in completely custom truck. 3.5 eco is a beast! I had no idea.
Heres what I started with and what I've done so far;
XLT 300a 3.5 ecoboost screw 4x2 magnetic
6inch ProComp lift
20 in fuel trophy wheels
Toyo open country RT 35 in
Bushwhacker pocket fender flares
Barricade HD extreme running boards
Full length LED running board lights wired to dome light
Carbon fiber valve stems
Sync 4in to sync3 8 in
Jump seat to special edition flow through center console
Cloth to special edition leather interior
Raptor steering wheel and harness for active paddle shifters
Instrument cluster swap 2in to lariat 8in
Weather tech digital fit mats through out
Special edition badging
Wireless phone charging
Short carbon fiber antenna
Lariat Sport grille
OEM backup camera
Future and current projects
OEM 360 camera
OEM Trailer brake assist
OEM PTBA
OEMPower fold mirrors
Tuner
Intake
Exhaust
BOV
Intercooler pipes
Barricade HD extreme front and rear bumper with lighting - some sort of custom switching
OEM backup sensors
Spray liner
20% tint
4.11 rear gear ring and pinion and new bearings
Anzo switch back headlights- oracle LED conversion
OEM LED tail lights with radar
OEM BLIS and CTA
OEM special edition lariat seat belts
Some of these projects are easy, quick ones and some are going to be huge undertakings, ie: 360 and PTBA, BLIS.
I've been inspired by 2016BoostedGreyGoose, lucas8888, Firestorm, Livinitup, texasfording. You guys are paving the way for newbies like me and building confidence that I can actually pull off some of these projects. Thank you BoostedGreyGoose2016 for the raptor steering wheel harness and helping with the cluster. Thank you Livinitup...FORScan titan! I appreciate you taking the time to help and direct me. What an amazing community this is! Can't wait to get started on the next projects and keep you guys updated. I don't think I'll ever be done with this truck.
Right now I'm completely de-chroming the truck. I don't have new pics of the running boards and full length LEDs but I'll post soon. I'll also post a before and after of the interior. That is crazy...Base XLT interior to Lariat special edition, just need to add a few more options from the tech package.
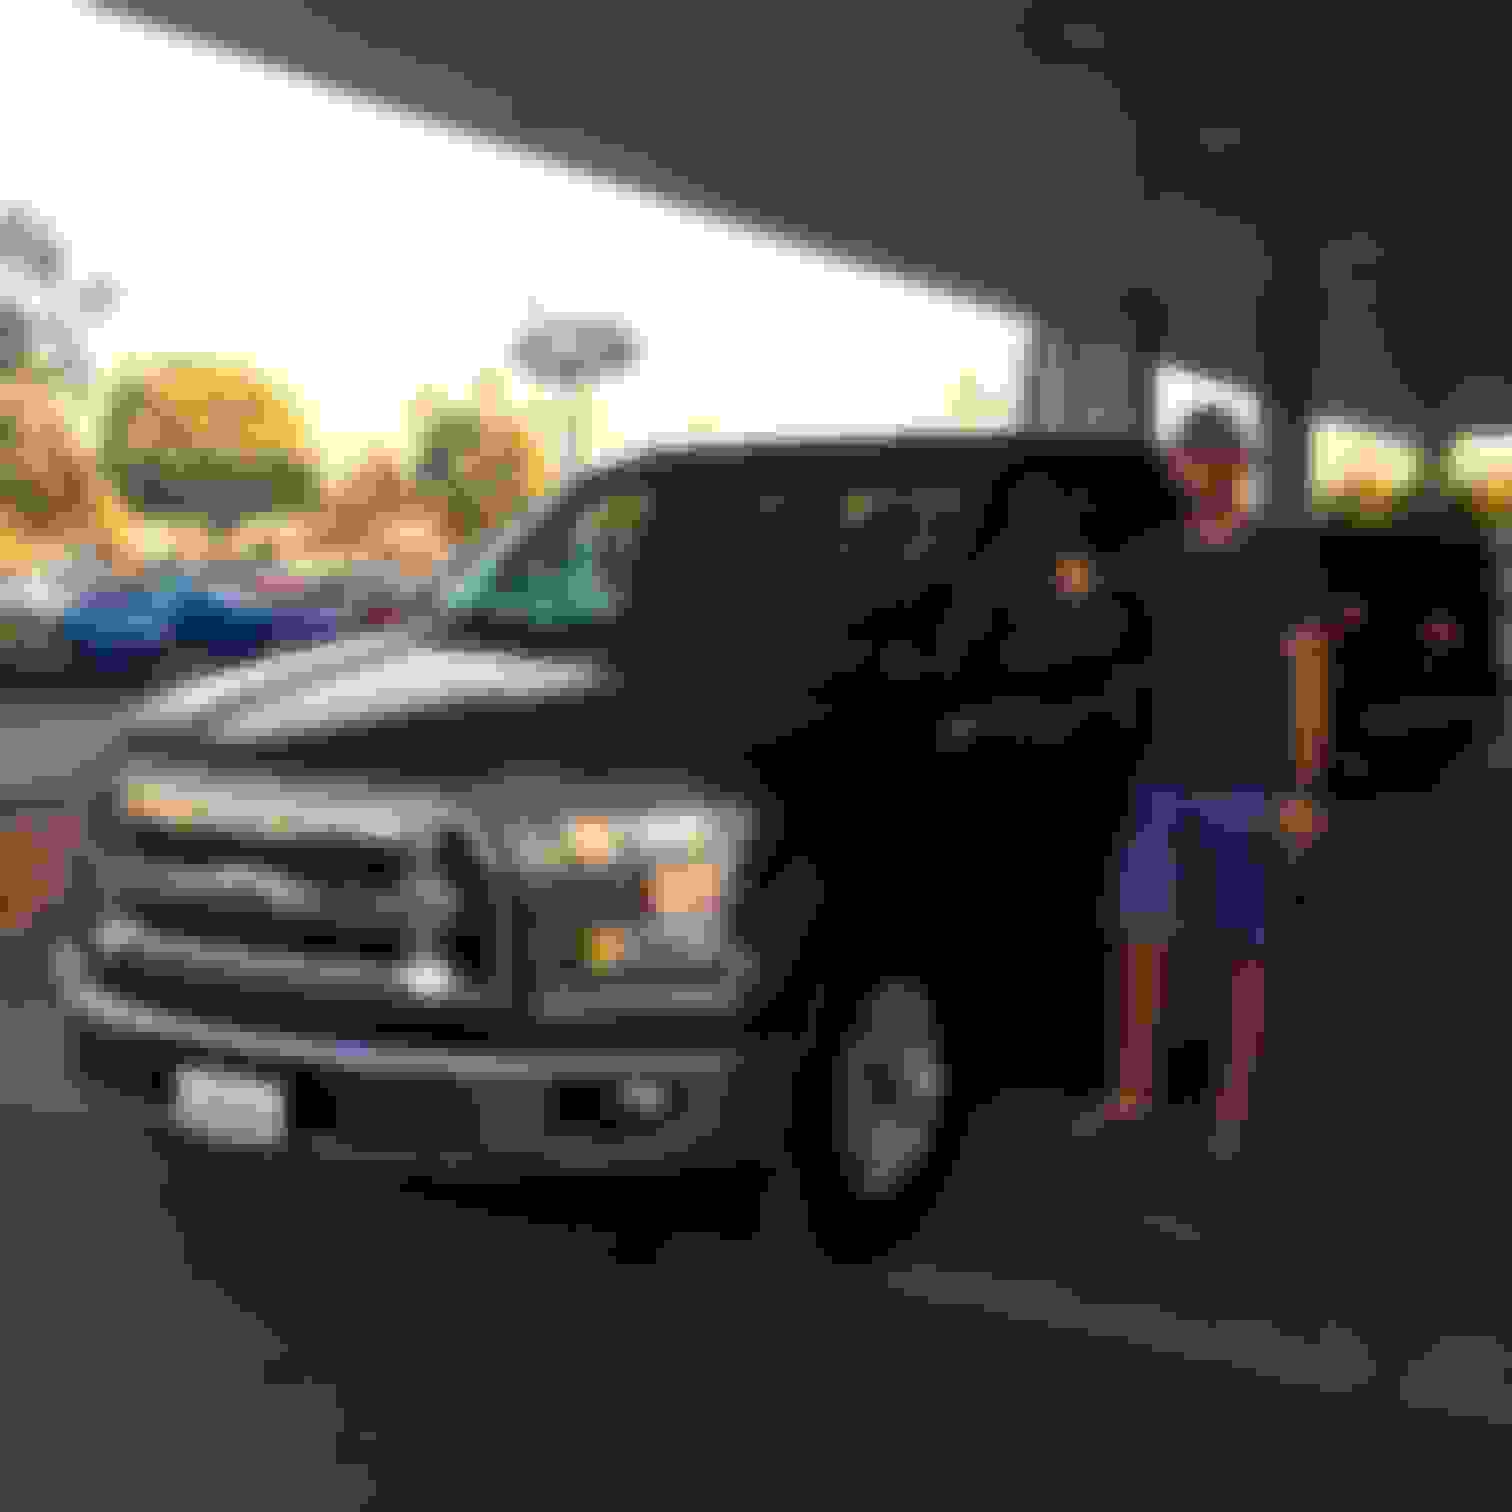
Day 0
Day 10...father in law bought one too. 5.0
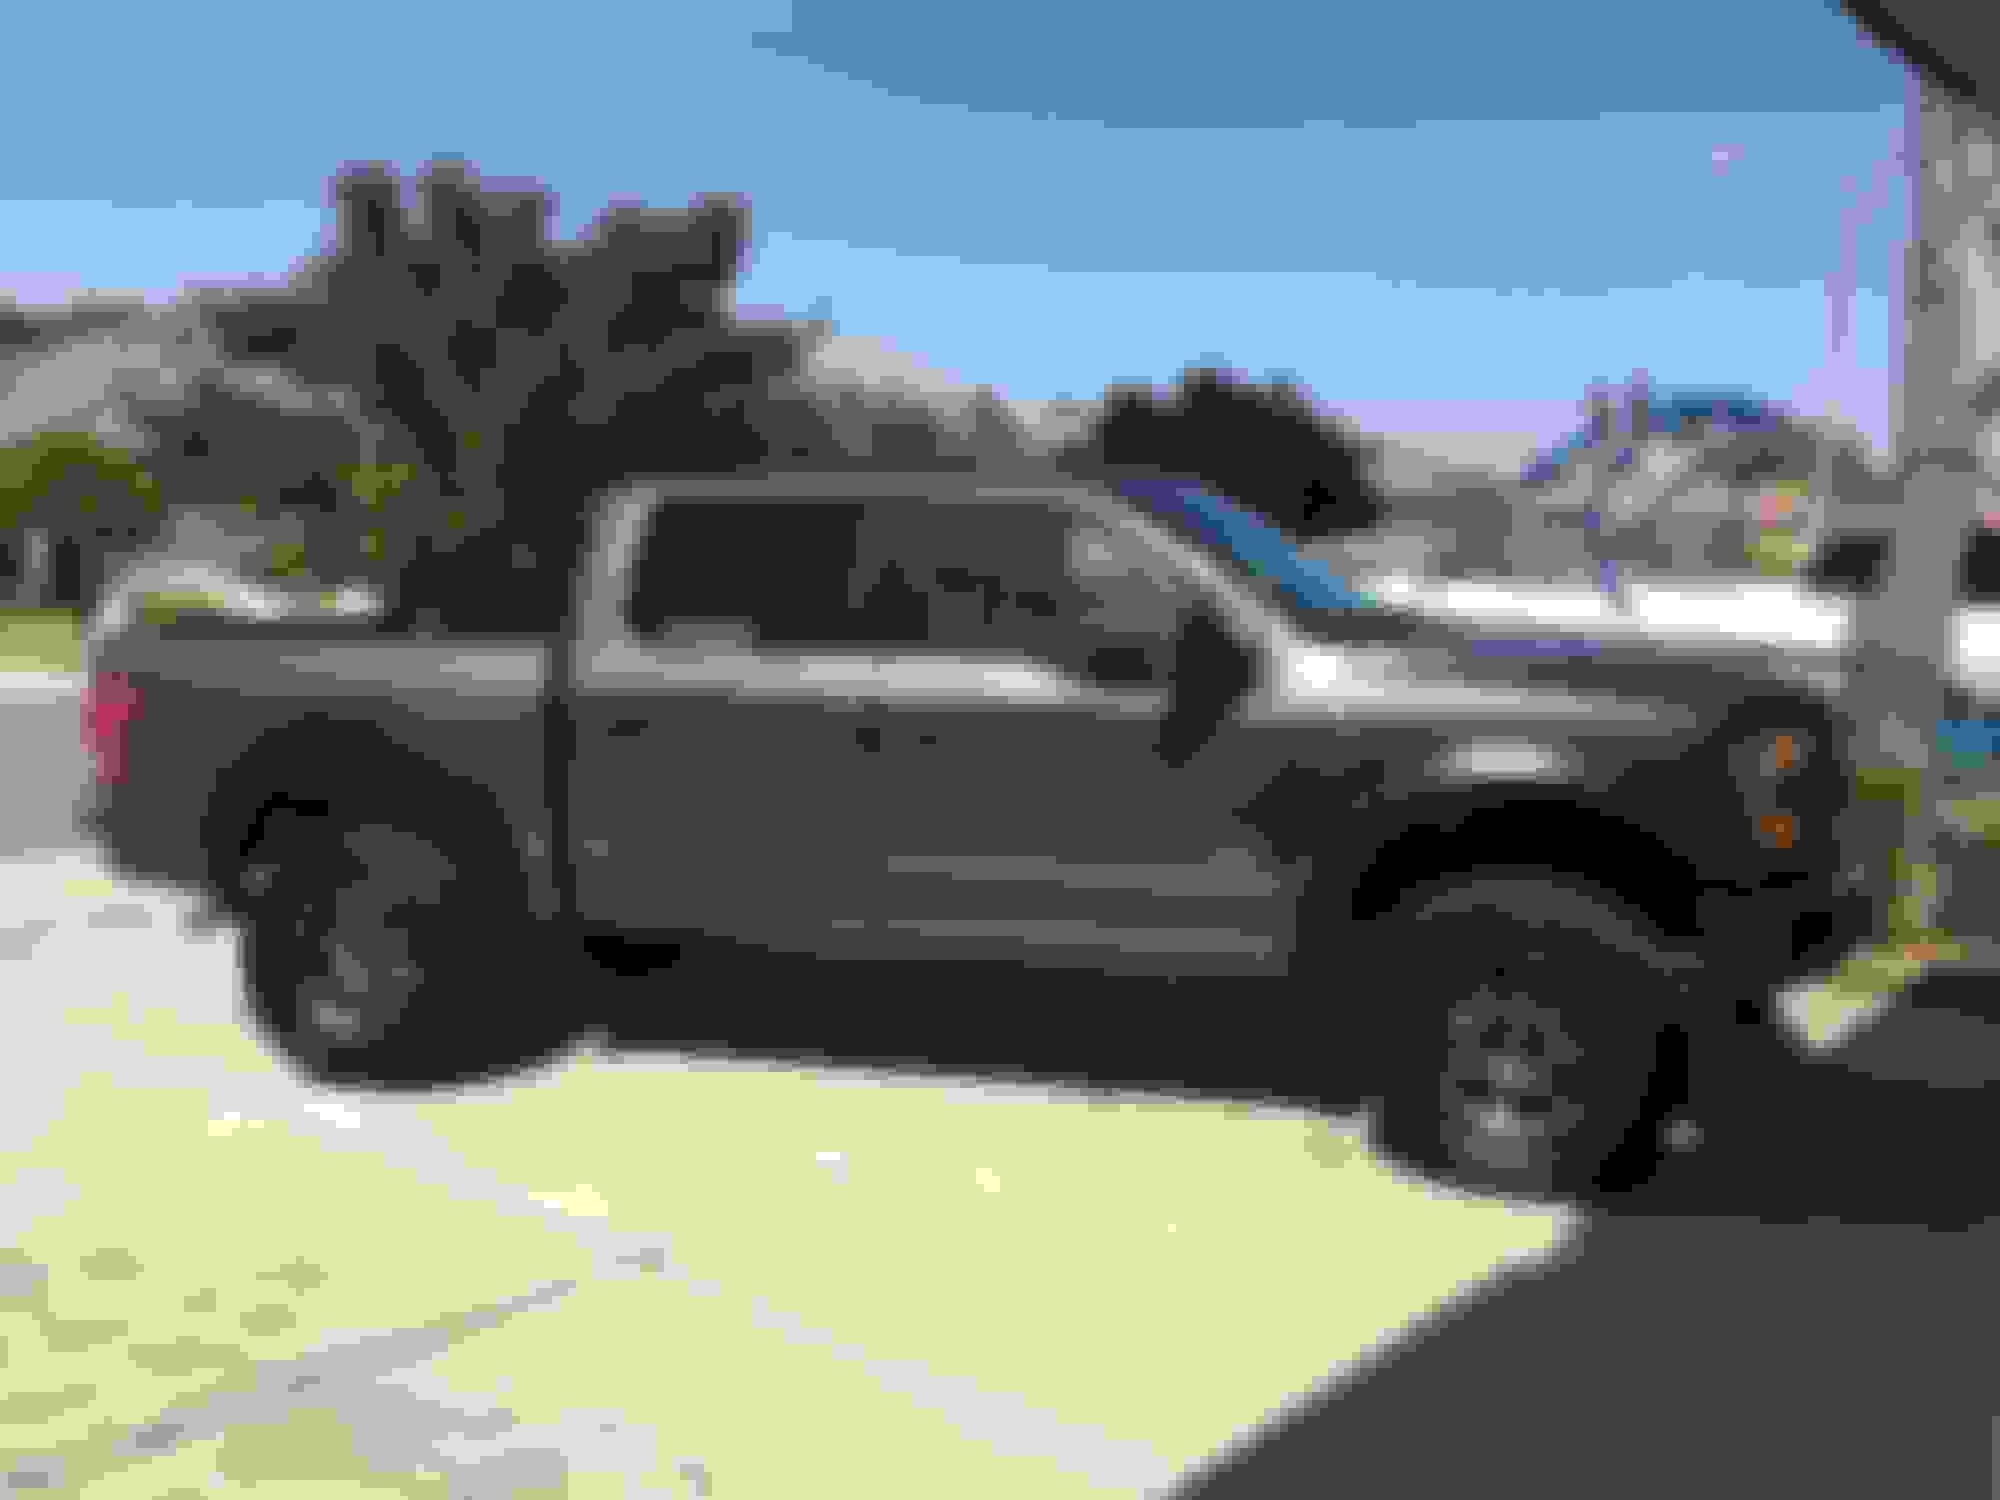
Day 201 Lift, Flares, wheels and tires
Day 201
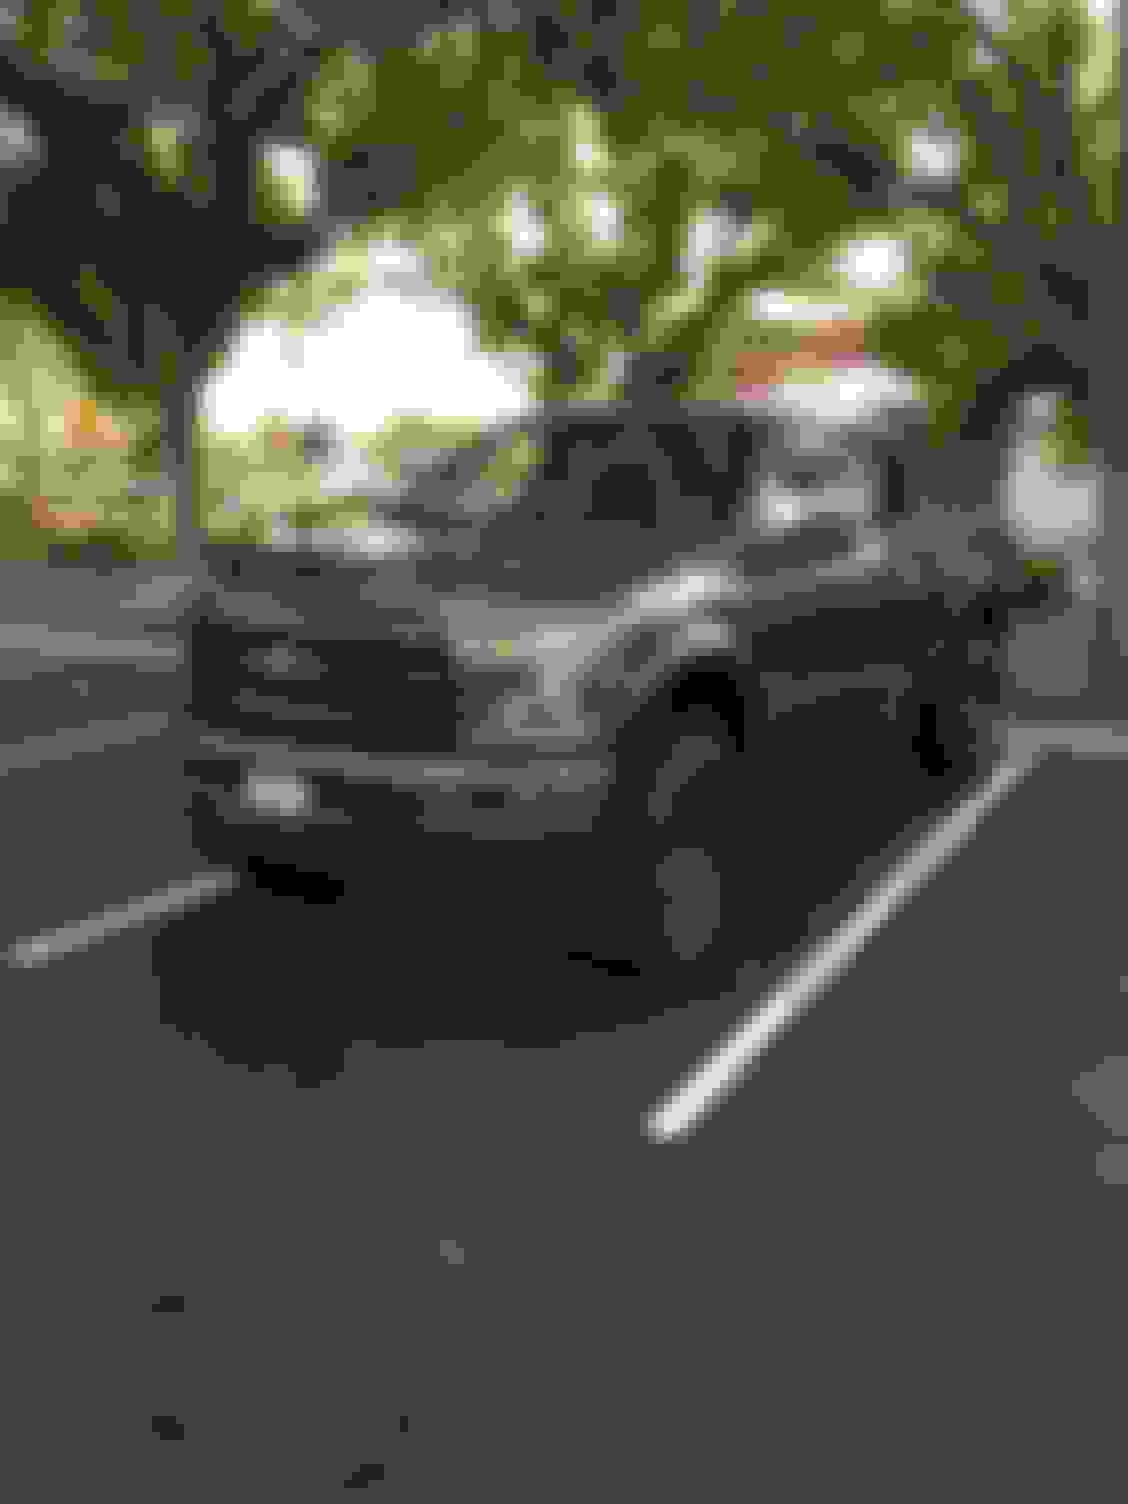
Day 220 new grill
Day 365 I'm not the only guy building an F150 XLT in Cen CA.
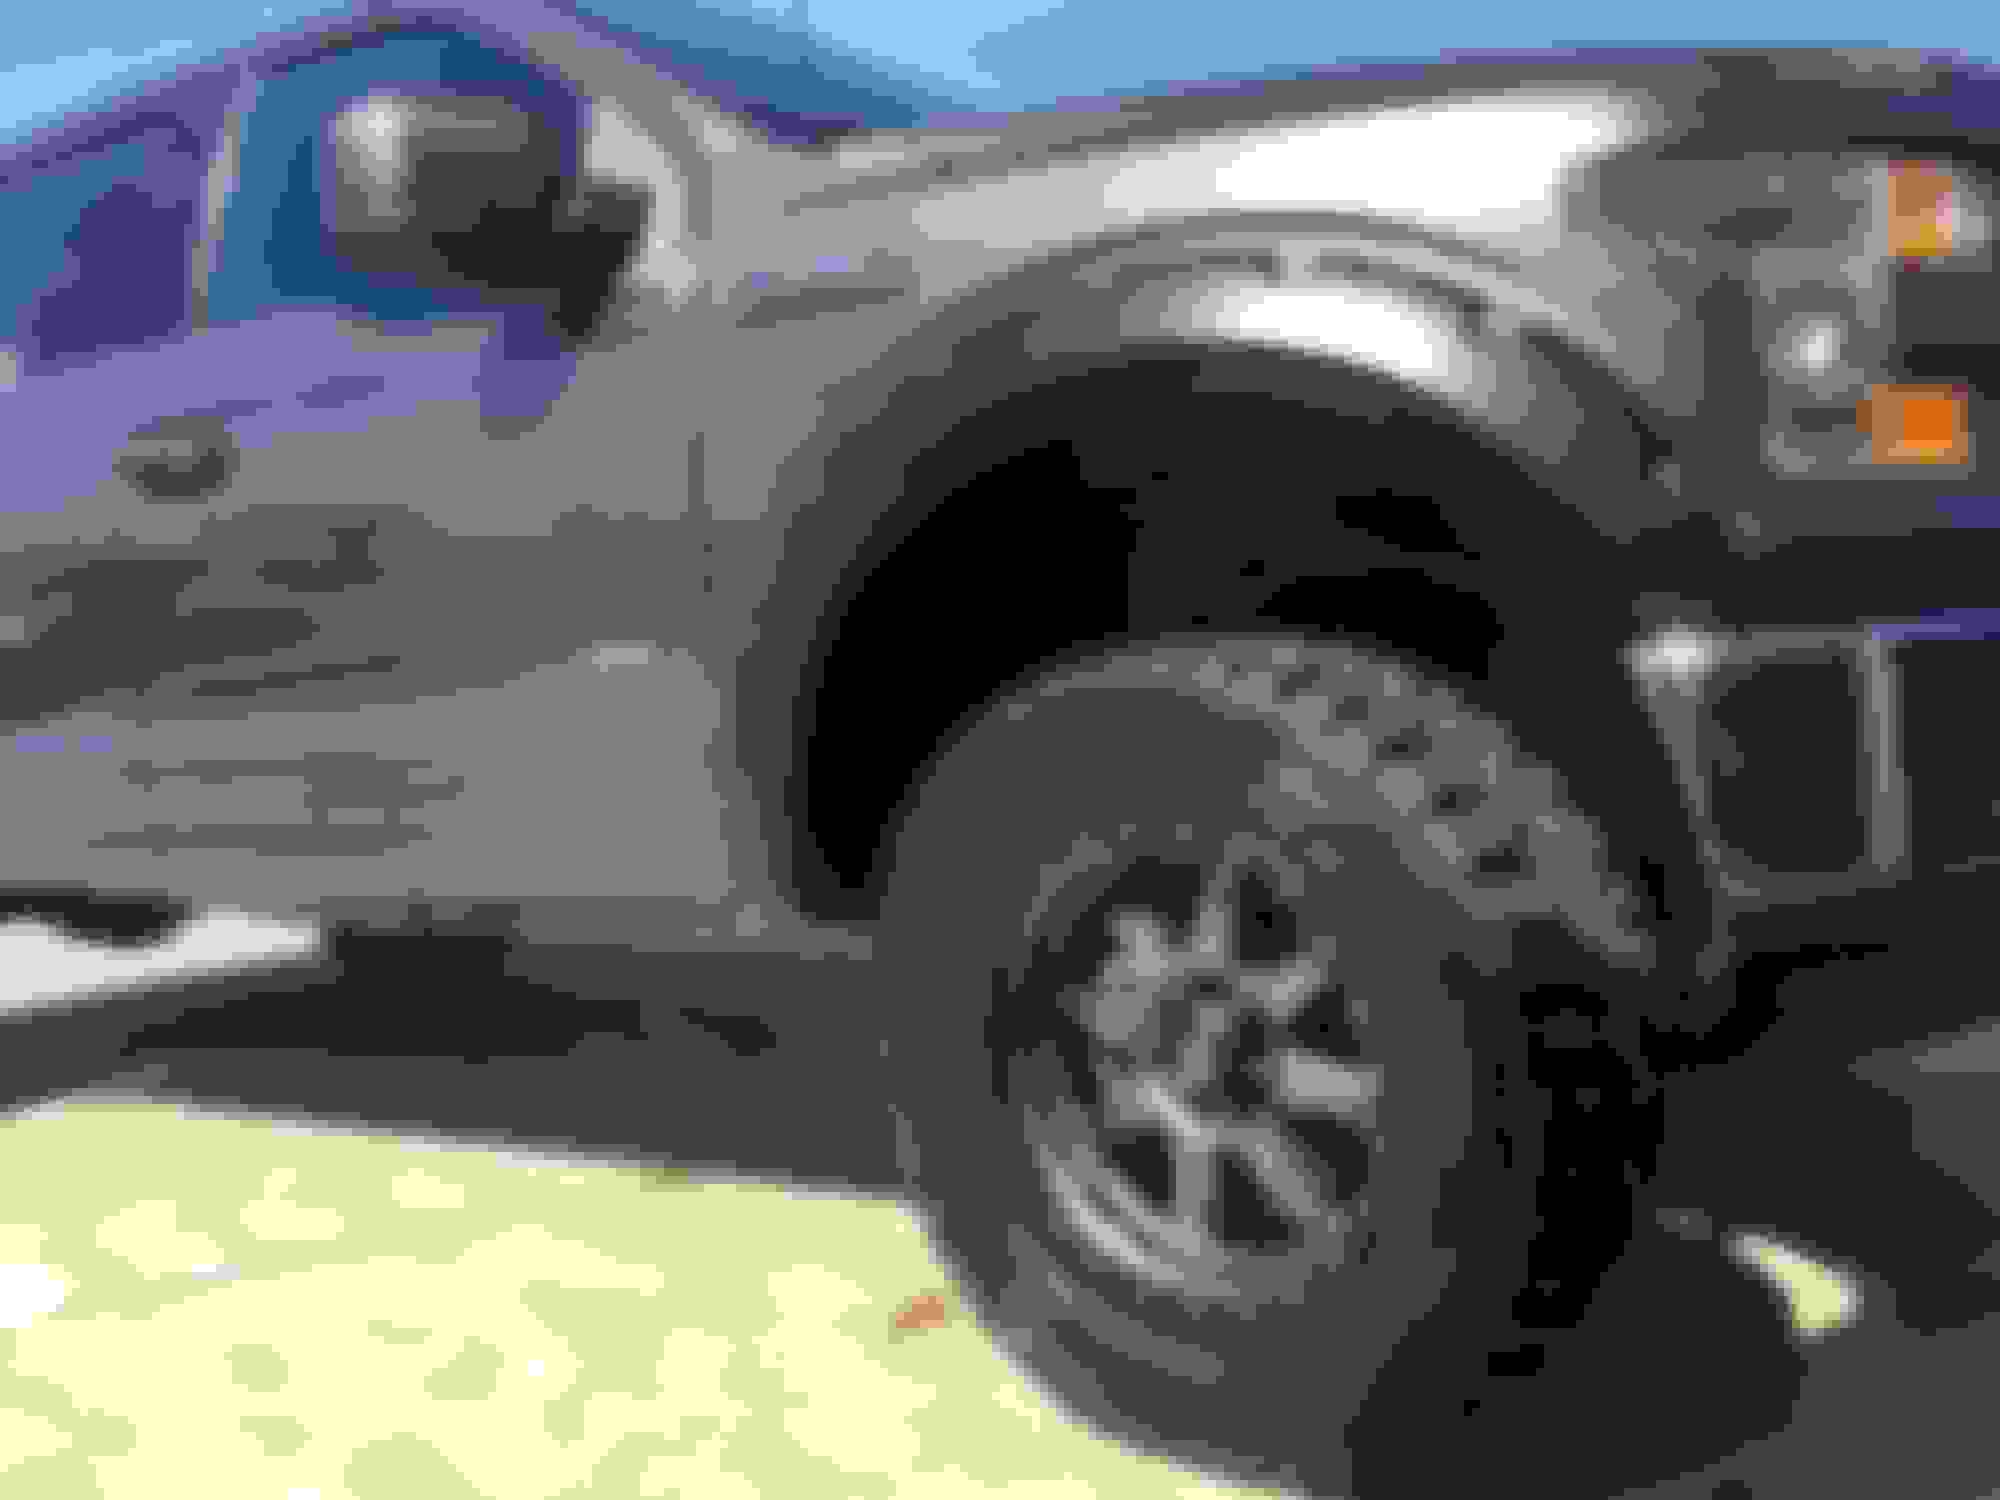
I hope you added some protective clear film under where those fender flares touch the paint on the trucks' built in flares. If you didn't I highly recommend it, because they will scratch your paint right through the clear and ruin your paint job if you or the next buyer ever wants to remove the flares. The pocket flares on my previous Silverado destroyed my paint just from movement with dirt that collects umder there. Doesn't matter if there is a rubber gasket on the inside, it's the dirt that acts like sandpaper and does all the damage.
Also, are they definitely pushed all the way as high as they will go? Why are they short of the crease there the built in flare starts? Doesn't look right to me.
Thanks for the tip on clear film. I didn't do that. The flares are pushed up tight and screwed into the wheel well. I think that 1 inch gap was intentional design from bushwhacker to flow with the lines on the truck.
Ok, I thought maybe they could come up another 1/2" but I guess not.
Yes, please get the film on there ASAP unless it's too late and there is already paint damage. Mine were on the truck for a few years but I rarely drove the truck. The damage was irreversible and not repairable except through a respray.
Have you thought about paint matching them? Would flow nicer with the truck too. Unpainted they kind of stand out a little too much.
Mine had the bolts and washers powdercoated in black to make them disappear more for a custom look. You could powdercoat yours to match the grey on the wheels.
You've got a pretty good list of current / future mods, & for the record you are correct - you probably won't ever be done with this truck.... as soon as you think you are someone figures out another "must have"
As @JAMADOR would say...welcome to the XLariaT club
Last edited by Firerunner; 07-30-2017 at 08:17 PM.
Ok, I thought maybe they could come up another 1/2" but I guess not.
Yes, please get the film on there ASAP unless it's too late and there is already paint damage. Mine were on the truck for a few years but I rarely drove the truck. The damage was irreversible and not repairable except through a respray.
Have you thought about paint matching them? Would flow nicer with the truck too. Unpainted they kind of stand out a little too much.
Mine had the bolts and washers powdercoated in black to make them disappear more for a custom look. You could powdercoat yours to match the grey on the wheels.
I thought about paint matching when I first got them, but I actually like the contrast. It has made me start de-chroming the whole truck and going with a black gray and carbon fiber look. I appreciate your opinion but to each their own I guess.
Thanks Firerunner! Reading your Frakentruck thread inspired a lot of these mods. I'm excited to get to new projects and get some of this wiring and FORScan figured out.
Ran harness along frame rail came in through a rubber grommet under driverside carpet and ran to apim. I grabbed ignition power from a 12v cig lighter.
Completely broken down
Starting disassembly and removal of jumpseat
All works, including apple CarPlay
Center console in and bolted down
Leather seats are in. Tackling that tomorrow when it's cool in the morning as well as raptor steering wheel and new badging
 07-30-2017, 02:47 AM

 . But I figured its a blank slate and I'm not trading it in now that I know what I want, so i'd just build it. And so it began a few months back, base XLT to Lariat(ish)conversion. I plan on taking this past Lariat trim in terms of options...really an expression of myself in completely custom truck. 3.5 eco is a beast! I had no idea.